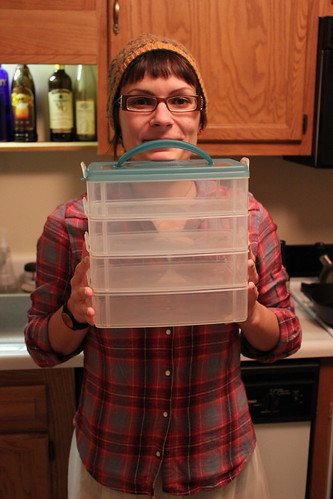
step 1: find the proper container. this thing is PERFECT - the trays snap together, and you can move the bottom tray up to the top once the compost in it is done.
step 2: safety first!

step 3: dremel large holes in the bottom of each tray.

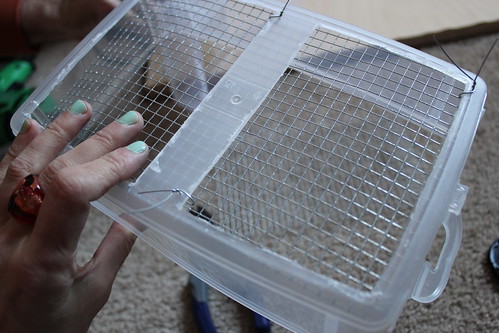
step 4: cut wire to fit the bottom of each tray.
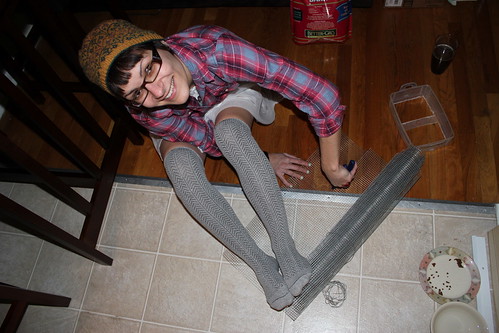
"it's like i'm in prison!"

step 5: vacuum the bits of plastic up off every surface in kitchen (including us).

step 6: take break to watch colts lose fabulously in the playoffs.

step 7: drill holes to string wire bottoms into each tray (and freak the cat out with power tools).

step 8: string the wire through.
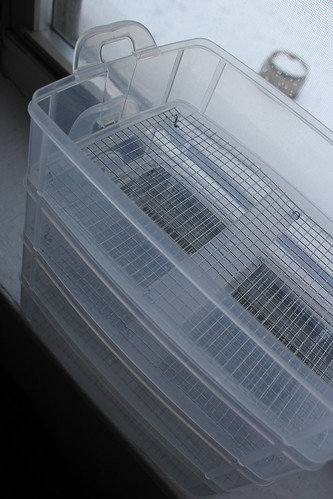
the trays are ready for... the worms!

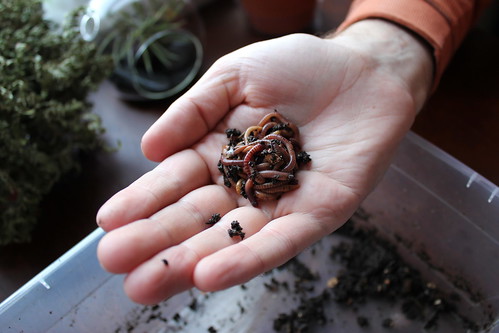
and there they are - one tiny, sweet little ball of worms.
2 comments:
Very nicely done. You're a regular handyman!
In my area, the flow through bins on the Internet are not even available. I just bought in/out trays and stacked them. It works just fine. I just taped some of holes on the sides so the contents don't dry out too quickly.
Check out my bins too
very cool! we were first looking at gardening flats - super cheap, but concerns of space and the flimsiness of flats worried me. so... here we go with this little experiment! the wormies seem happy so far. tonight - we see if they like avocado bits.
Post a Comment